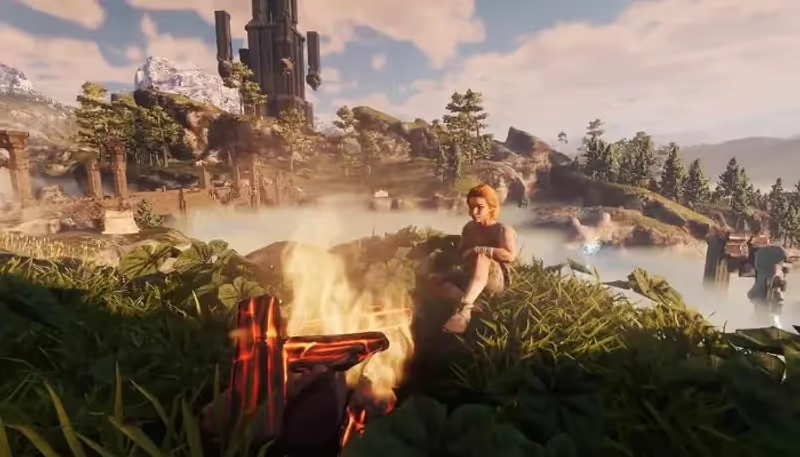
Since the launch, the Fantasy RPG game, Enshrouded has captured the hearts of survival gamers. Of course, playing this exciting survival game is more fun if you are with a party of friends. One way to be able to enjoy a stable multiplayer experience is to set up a dedicated server. This guide covers all you need to know on how to set up a dedicated server in Enshrouded.
Table of Contents
How to Set Up a Dedicated Server in Enshrouded

Before you start a dedicated server in Enshrouded, it's essential to ensure your system meets the necessary requirements. An Enshrouded dedicated server demands a robust configuration, including:
- Operating System: Linux or Windows
- Processor: Quad-core or better
- RAM: Minimum of 16GB
- Storage: At least 60GB of available space
- Internet Connection: Reliable broadband internet for seamless server installation and gameplay.
If you have met the specs requirements on your PC, then you can continue to the next steps on how to set up a dedicated server in Enshrouded:
Advertisement
Step 1: Download the Essentials

Begin by downloading the Enshrouded game client from your preferred digital distribution platform.
Additionally, you'll need to download the separate Enshrouded Dedicated Server executable from the "Tools" section of your Steam library.
Step 2: Access the Dedicated Server Executable
Rather than launching the game directly, right-click on the Enshrouded Dedicated Server from the tools list and select "Properties."
Proceed to the "Installed Files" tab and click "Browse" to open the executable's folder.
Advertisement
Step 3: Launch the Dedicated Server

- Within the folder, locate and launch the "enshrouded_server" application.
- Upon initial launch, it will create a file named "enshrouded_server.json" in the same directory, which will serve as the configuration file for your dedicated server.
Step 4: Configure Server Settings

Open the "enshrouded_server.json" file using a text editor of your choice. Here, you can customize various settings to tailor your server to your preferences. Some key settings to consider include:
- Name: Assign a distinctive name to your server.
- Password: Set a secure password for access control.
- saveDirectory: Specify the folder where your world data will be saved (optional).
- logDirectory: Designate a folder for storing log files (optional).
- IP: Enter your IPv4 address (obtain it by running "ipconfig" in the Command Prompt).
- gamePort and queryPort: Adjust these settings if necessary to match your firewall configurations.
- slotCount: Set the maximum number of players allowed on your server (between 1 and 16).
Advertisement
Step 5: Configure Firewall and Port Forwarding
To ensure other players can join your server, you'll need to configure your firewall and router settings. While specific instructions may vary based on your firewall software and router, the general process involves:
- Open your firewall settings and create a new rule for Enshrouded.
- Find the port forwarding section in your router settings.
- Create a new rule for Enshrouded, specifying your IPv4 address.
- Select both "TCP" and "UDP" options and add the port number "15636" for port forwarding.
- Depending on your router, you may need to enter port numbers separately or as a range.
If your dedicated server is still not working after following these steps, try port forwarding the number "15637" as well, resetting your router, or double-checking the "gamePort" and "queryPort" settings in the "enshrouded_server.json" file.
If issues persist, you may need to review your firewall settings or, as a last resort, temporarily disable your firewall application.
Step 6: Launch Your Dedicated Server

With your configurations in place, launch the "enshrouded_server" application (not through Steam) while playing Enshrouded to access your dedicated server.
Keep the command window open to maintain an active server connection.
Advertisement
Summary
That's all you have to do to set up a dedicated server in Enshrouded! The next thing to do is to embark on an unforgettable journey through the captivating lands of Embervale with your friends!
With this comprehensive guide, you'll be equipped with the knowledge and tools to create a fun open-world multiplayer experience tailored to your preferences and those of your community.
Advertisement


